
During the colder months, many households find themselves struggling to keep warm even with heaters running. The primary culprit is air leakage, where warm air inside escapes rapidly when the outside temperature drops, leading to increased energy consumption and discomfort. Addressing these leaks does not require expensive renovations; simple tools and modest investments can achieve significant improvements in comfort and utility costs.
The Environmental Protection Agency reports that air leakage accounts for over 25% of the energy used for heating and cooling a typical home. Experts advocate for practical solutions that homeowners can implement to significantly reduce energy waste. Johanna Neumann, senior director at the advocacy group Environment America, states, "Sealing your home not only lowers your utility bills but also enhances comfort and reduces overall energy usage."
Detecting Air Leaks
The initial step in winterproofing a home involves locating areas where air infiltrates. Commonly, one can identify leaks by simply feeling for drafts around doors or windows. More precise low-cost methods include using candles or incense sticks to detect airflow direction. By closing all windows and doors on a windy day and moving a lit candle or incense around the home, any flickering flame or shifting smoke signals leakage points.
For homeowners willing to invest more, thermal imaging cameras priced around $100 to $200 provide detailed temperature variations and pinpoint leaks more accurately. Experts recommend conducting these inspections during times when the indoor and outdoor temperature difference is at least 15 degrees Fahrenheit (approximately 8 degrees Celsius) to ensure clear results.
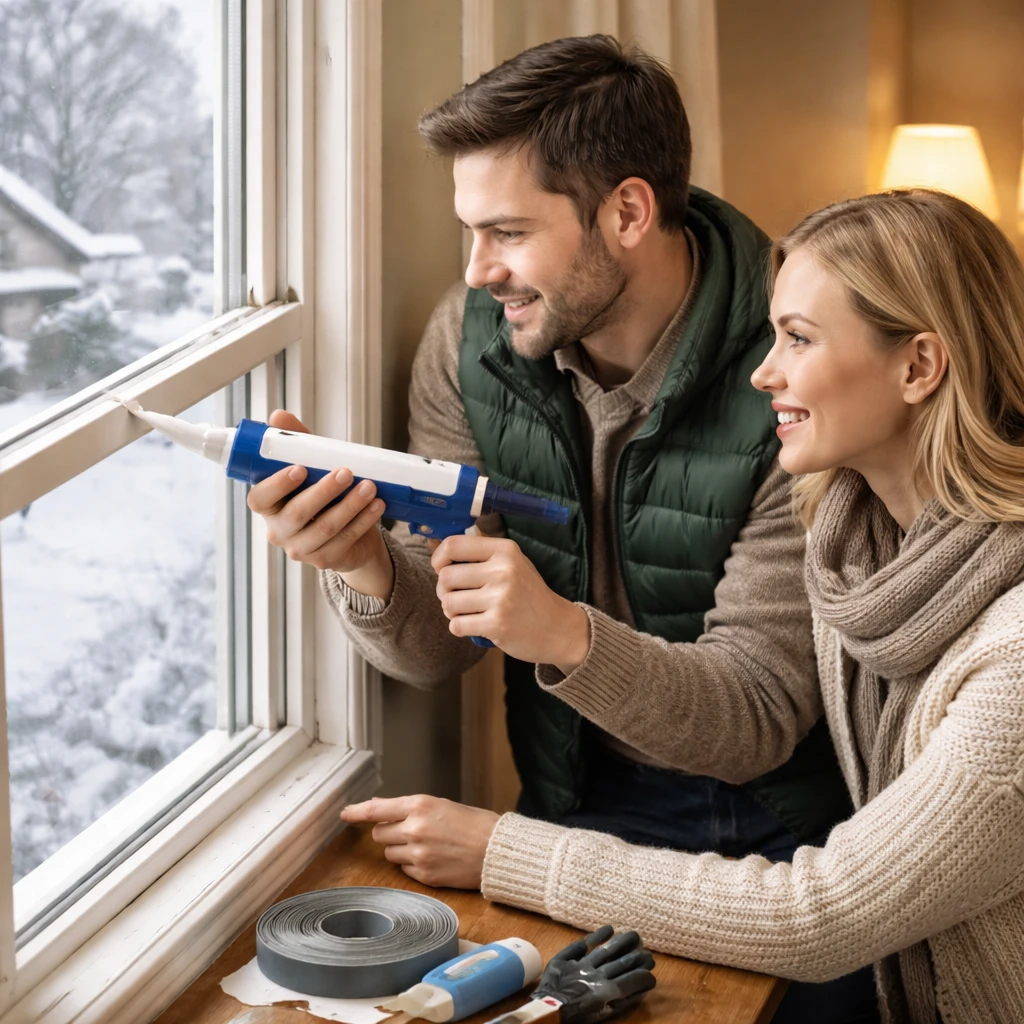
Sealing Windows
Windows represent a significant source of heat loss. DIY specialist Matt Lanteigne recommends affordable fixes such as putty or sealants to fill cracks, alongside indoor window insulator kits typically costing under $20. These kits use plastic film affixed with double-sided tape around window perimeters, which can then be tightened using a blow dryer to create an effective barrier. Although not visually appealing, this temporary solution substantially improves insulation during colder months and can easily be removed when warmer weather arrives.
Putty application is especially useful around window trims, which often have unsealed cracks. Home energy auditor Eric George notes that painters frequently omit caulking on top or bottom parts of trim as they are not visible. Selecting putty materials compatible with surfaces such as drywall, plaster, concrete, or metal ensures optimal sealing results in these locations.
Addressing Doors and Electrical Outlets
Outdoor doors contribute to heat loss mainly through gaps surrounding their edges. Installing door sweeps—thin strips of metal, rubber, or plastic—at the base of doors can cost less than $20 and block drafts effectively. For gaps along the sides and the top of door frames, applying felt or rubber weatherstripping priced under $10 per 10 feet is advised. Neumann explains that this weatherstripping should be securely attached inside the door jamb, fitting snugly to prevent airflow.
Interior electrical outlets may also allow cold air passage due to improper sealing between drywall layers. Foam sealers, inexpensive and easy to install by removing outlet covers and placing the foam behind them, can considerably reduce this leakage. Such products are typically sold in multipacks for under $10.
Additional measures include sealing gaps around pipes and electrical conduits in attics and basements with caulk guns or spray foam, further minimizing unwanted air exchange.
Tackling More Challenging Leak Points
Some areas, while requiring slightly more effort, offer substantial energy savings. Recessed ceiling lights, for example, often allow significant air to escape upwards due to their design accommodating incandescent bulbs, which ran hotter than modern LED lights. These fixtures can create numerous openings in the ceiling, effectively making the house similar to "Swiss cheese" in terms of air leakage, according to Eric George.
Hardware stores provide retrofit kits between $5 and $30 designed for LED installations. The process involves switching off power, removing old bulbs, sealing gaps between the light can and drywall with caulking and metal tape, and using adapters and fasteners to secure the new LED lights. This project can generally be completed by homeowners without professional electricians, with many online tutorials available to guide the procedure.
Other ventilation elements such as dryer vents, bathroom fans, and kitchen hood outlets commonly lack airtight seals. Adding backdraft dampers—cylindrical components with metal or rubber valves that allow air to exit but prevent re-entry—can improve sealing. These dampers cost between $10 and $50 each depending on size and type.
Attic access points, including pull-down staircases, also present leakage risks. George recommends covering these with foam boards and applying weatherstripping to edges to reduce warm air escaping through ceiling openings.
Implementing these practical, affordable measures can significantly improve a home's energy efficiency, comfort, and reduce heating costs throughout winter and cooling costs during summer months. Many options require minimal time investment and avoid the need for expensive professional interventions.